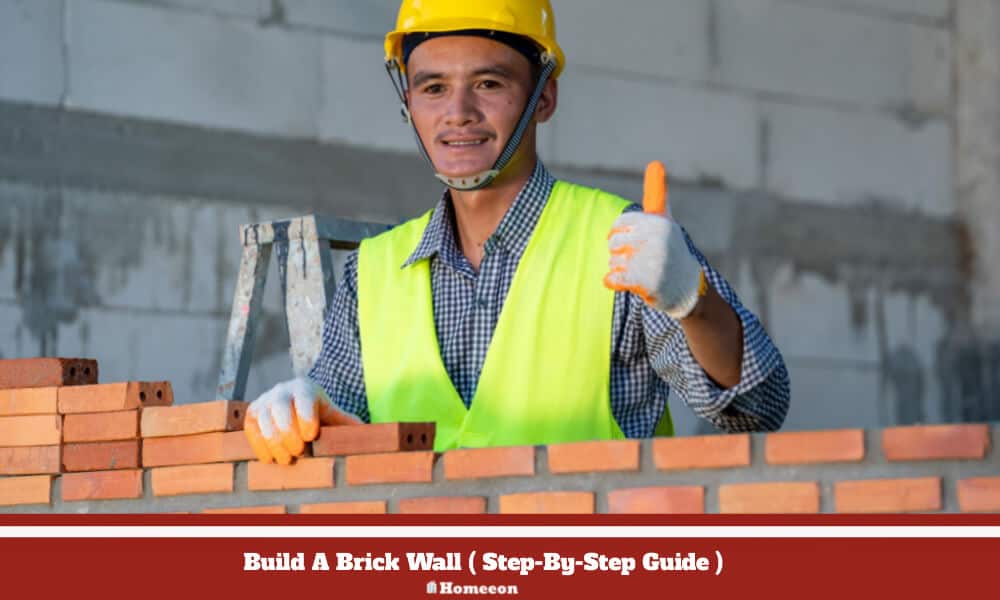
Last Updated on July 25, 2023 By Emma W. Thomas
To build a brick wall, follow these steps:
- Prepare the foundation and mark the layout.
- Mix mortar according to instructions.
- Lay the first course, ensuring levelness.
- Add subsequent layers, staggering bricks, and applying mortar.
- Check for plumpness and level after each course.
- Clean excess mortar. Allow time for drying and curing.
Materials Needed To Build A Brick Wall
Some of the materials you will need to build a brick wall include;
- Bricks
- Brick trowel
- Wheelbarrow
- Hammer
- Bolster
- Shovel
- Spirit level
- Dry bristle brush
- String and clamps
- Tape measure
Step By Step Guide To Building A Brick Wall
Step 1: Select Your Suitable Bricks
Bricks are available in different varieties, though they fall under three main categories;
- Severe weathering (SW) Bricks- They can withstand direct contact with moisture and the ground. If possible, use these for foundations, garden walls, and patios.
- Medium weathering (MW) bricks- This type of brick can withstand freezing temperatures and above-the-ground exterior work, meaning no direct ground contact.
- No weathering (NW) bricks are only meant for interior work.
Step 2: Calculate The Number Of Bricks You Need
Before you start up your project, you need to determine the number of bricks you’ll need. Bricks typically come in different sizes and shapes, and you should adjust the size of the bricks you buy to account for mortar, which is 10mm thick. The standard brick measures 215mm long×102.5 mm wide× 65 mm high.
Using the tape measure, measure the area you need. Your calculation should be correct since it’s annoying to run out halfway through while it’s costly to over-order.
Just be aware, there’re 60 bricks per square meter of half brick wall plus 120 bricks per square meter for a one-thick brick solid thick wall. To be on the safe side, include ten percent for wastage.
Step 3: Order Your Bricks
Please place an order from a brick company of your choice to be delivered to your place or maybe pick them, whichever suits you best.
If you have existing brickwork, you can order a similar brick to cut the cost. The rest of the materials you can get them from your local DIY store.
Step 4: Prepare The Foundation
Foundation is one of the most critical parts of a brick wall since this is the support for your wall. Dig out a trench to sit on your wall, and then make it solid with a layer of concrete, more often known as a footer or concrete foundation. The trench size will depend on the width and height of your masonry wall.
You’ll need a half a meter-deep trench for the brink wall to one meter in height. Ensure you check your measurement before digging because the foundation is essential to prevent your wall from collapsing.
To find the optimal height for your bricks in the trench, drive a wooden stake, spread them two to four feet apart (as per the length of your wall), and make sure they are entirely on the same level. Your first raw of the bricks should lay in the foundation. Then, fill the foundation with concrete while ensuring its level. Also, fill the top of the stakes and leave it to dry for two to three days.
Step 5: Make Your Guideposts
Sometimes also known as gauging rods, to ensure your wall is consistently level.
The simple way to do this is to get two long post or wooden boards and cut it to the height of your finished wall—Mark them where each brick should be, including the motor lines. Ensure the posts are freestanding by driving them into the ground. Their height should be similar to what your wall will be.
Keenly, set up a string line from one gauging rod to the others. It will now be your second row of brinks, as the first string will be lying in the trench. These rods will be your wall rulers, and they should be identically lined up with no sag. Use your tape measure and a level to make sure the wall is incredibly planned.
Step 6: Mix Your Mortar
Put the dry mortar mix on an old damp board or a wheelbarrow, add water and stir with your shovel until it’s stiff enough. Follow the manufacturer’s instructions, as the strength of your brick wall depends on your mortar mix as well.
The mixture should remain on the shovel when you turn it upside down, although loose enough to fall off after a while. Mix only the amount you need to use in an hour or two, or else you’ll have to discard it.
If you want the bricks to bond correctly with the mortar, soak them in water and let them drip dry. Make sure there is no running water on the bricks because it will make the mortar too wet.
Step 7: Lay Your First Row Of Bricks.
After the foundation is dry, it’s about time you get started.
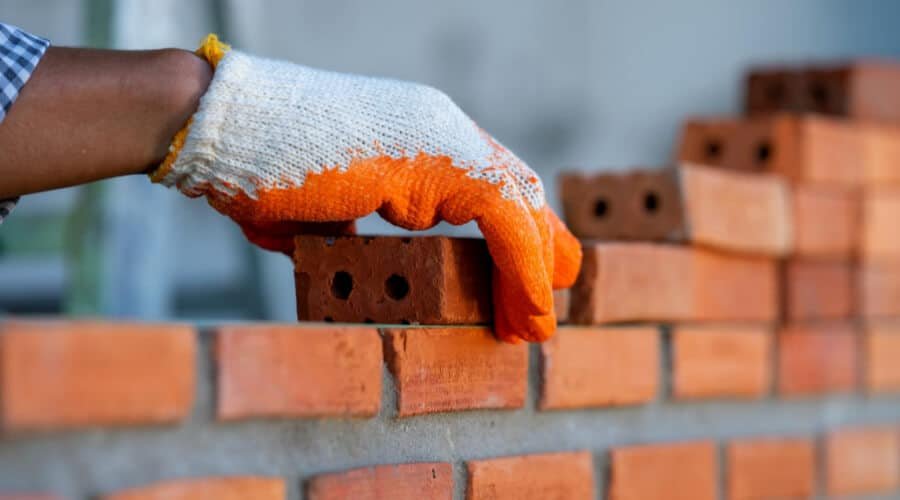
Put the mortar on the foundation and make a V-shape along the motor using your trowel. The V-shape trench will spread the mortar out, making it easy for you to lay the course. Lay down the brick in the mortar and press it firmly into place while ensuring its level.
Please take the next brick and add mortar to the short edge before laying it down hard up against your first brick. Fix it into place and remove any excess mortar with your trowel. You can use the remaining mortar so long as it’s free from any debris or dirt.
Repeat a similar process for the first course. Make sure the bricks are flush via the spirit level. Keep the 10mm consistently between the bricks; otherwise, it might compromise the strength of your wall.
Step 8: Lay The Next Brick Row.
Ensure your string line is set up for this row to know the right height to achieve. For extra strength support, your bricks should always be staggered. A staggered wall means you may have to cut some brinks in half.
To cut bricks into half brick, take it and tap firmly in the middle via the pointed side of your hammer. You will break your bricks into two equal sides if it’s done correctly. But, if you are not an expert, it may be a good idea to use a bolster and a hammer to achieve a cleaner cut.
To do this, place the bolster in the center of the brick, then, using your hammer, tap firmly. As a crack start to appear, hit the bolster hard to break the brick cleanly. Although it doesn’t need to be entirely clean-cut, the rough edges will help you still attach the brick to the mortar.
Step 9: Continue Laying Bricks To Build Your Desired Brick Wall
Continue moving the string line up by the thickness of the brick and laying down the next course. Just ensure the string line is in the right spot and your bricks meet the string. Repeat this process until you complete the second course.
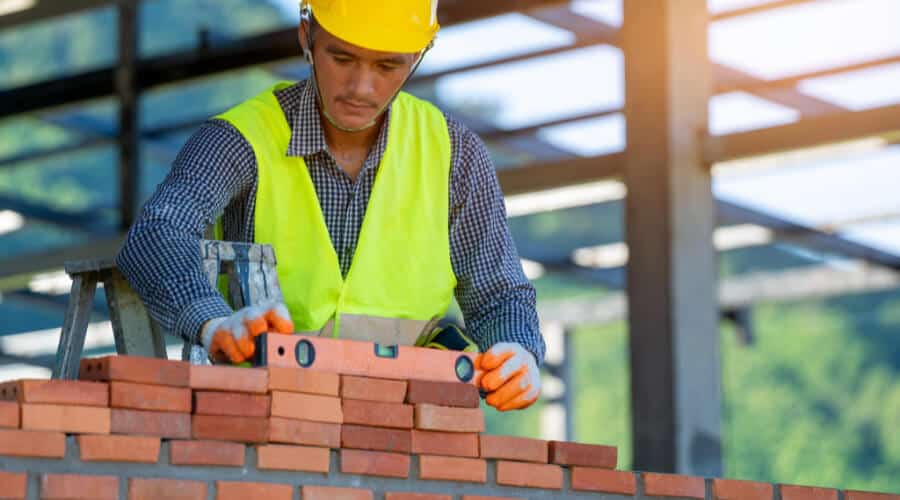
As you continue working, the walls get taller; check the level using the spirit level to determine if it needs bricks adjustment. However, it’s advisable not to move any bricks you have laid down for more than 10 minutes. Don’t forget to include the 10 mm motor as the height grows taller.
Step 10: Finishing Your Brick Wall
Once you have achieved the desired height, add the finishing touches. You may use different joining patterns on your masonry wall depending on its purpose. For example, a soldier course, where you turn the bricks vertically, ends facing out, or other different varieties you like. After that, do a quick spot-checking and patch any visible gaps with mortar all over the wall using the trowel.
Take a soft brush and go all around the bricks wall while removing any excess mortar before it dries up. Clean up any mortar that has fallen on the ground as well. Cover your wall with a polythene or tarp sheet overnight just once to protect it from elements like frost or rain.
Well, if you are at this point, congratulation, you’ve built yourself a brick wall! Share the experience with others and let us know if our guide was helpful to you.
What Type of Brick is Good for a Wall
The type of brick that is good for a wall depends on several factors, including the intended use of the wall, the climate of the region, and the aesthetic preferences of the builder. Here are some common types of bricks used for walls:
- Common Brick: Common bricks are the most basic and affordable type of brick. They are suitable for general construction purposes and are commonly used for non-load-bearing walls or as a veneer over a structural wall.
- Engineering Brick: Engineering bricks are denser and stronger than common bricks. They are more suitable for load-bearing walls and areas that may be exposed to moisture or frost, such as garden walls and boundary walls.
- Facing Brick: Facing bricks are designed to be more aesthetically pleasing and are often used on the exterior of buildings or walls. They come in various colors, textures, and finishes to enhance the appearance of the structure.
- Fire Brick: Fire bricks are made of refractory ceramic material and are designed to withstand high temperatures. They are used in fireplaces, ovens, and areas where heat resistance is required.
- Concrete Brick: Concrete bricks are made from concrete rather than clay. They are commonly used for structural walls, as they are strong, durable, and less expensive than traditional clay bricks.
- Sand Lime Brick: Sand lime bricks are made from sand, lime, and fly ash through a chemical process. They are known for their uniform shape and size and are suitable for load-bearing walls.
- Clay Pavers: Although not technically bricks, clay pavers are a type of brick-shaped unit used for walls and various landscaping applications. They are durable and add an appealing look to outdoor walls.
Final Thought
Creating a brick wall may not be an easy task, but it’s doable; get everything right. Keep in mind that bad execution can leave some brick wall foundation details. It’s also advisable to use wall foundation calculation so as not to lose more materials than necessary. Make sure you have everything needed first before starting the project for a smooth experience.
References:
https://www.self-build.co.uk/how-build-brick-wall/
https://www.rubi.com/us/blog/brick-wall/
Emma is a graduate of Domestic Science or Family and Consumer Sciences (Home Economics) from the University of Wisconsin. She has 7 years of experience Working with the strategic section of BestBuy and now writing full-time for Homeeon.
From Managing the Home, Interiors, Cleaning, and Exteriors to Gardening and everything about Making A Home Liveable – is her passion and this Homeeon is the result of this.
Emma loves decorating her home with the best stuff found online. She cares about quality over anything and writes reviews about them here in Homeeon. Get in touch with her over Pinterest.
Keep reading her blogs.