Last Updated on July 24, 2023 By Emma W. Thomas
Recessed lights are stylish, space-saving options for ambient lighting. To install recessed lighting, turn off the power, plan layout, cut holes in the ceiling, wire fixtures, connect to power, and secure in place.
Common Types Of Recessed Lightings
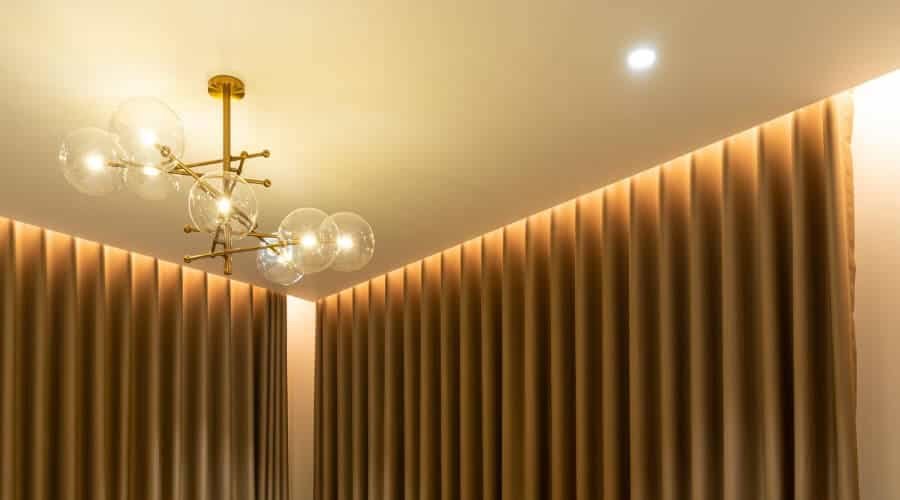
General/Ambient Lightings: mostly this type is installed in the ceiling of the kitchen or the living room. Simply because there’s a lot of traffic in those places and proper lighting is needed. You can also use it for downlighting.
Spot/Accent Lighting: this kind of light is perfect when there is a focal point—for example, a Fireplace or a piece of artwork mantle to be spotlighted. The best angle to minimize glare when spotlighting an art piece is 30 degrees.
Wall Washing: Compared to direct downlighting, this is less harsh. They are mainly used to illuminate stairs’ pathways with an angled flange that directs the light down.
Elements Of A Recessed Lighting
These light fixtures are made up of 4 different parts, i.e., housing, baffles, lamp, and trim. Let’s learn more about a single one of them;
Housing
Housing is the fixtures themselves. It’s the part that is recessed into a ceiling, ground, or wall. Housing has a lamp holder, mounting, plus other aspects of electricity. Some housings are rated “IC” or “Non-IC.” IC stands for Insulation contact and has vastly reduced the risk of airflow and heat problems when fixed against insulation.
Selecting Housing
New Construction: usually designed for places with visible ceiling joists and lacking drywall. They are bulkier and have frames that you can install from above. These lights are easy to work with but impractical when attic access is not an option.
Remodel: it’s a suitable option if you want to upgrade your existing fixtures and LED. It’s affixed from below by wiring the fixture first before putting it in.
Baffles
Baffles are installed after putting the housing in its location. These are inner sheaths for covering the bare metal while giving it a polished look.
Types Of Baffles
Simple Baffle: this type of baffle is the one that is used more often.
Reflective Baffles: generally used to minimize the light throw or the “eyeball” directional covers. It’s pretty effective for sloped ceilings or throws lights in a specific direction or area.
Trim
Trim is that visible segment of the light. This thin lining throughout the edge of the light is visible when you look up at your fixtures. Besides giving delicate beauty, it trims the beam directly, and doesn’t matter if you are wall-washing or spotlighting.
Trim Selection
Trim selection depends mainly on your taste, desired effect, aesthetics, or functionality.
Aesthetics
1. Get the circular or a square aperture for a more modern look and classic aesthetic look.
2. Choose a non-flanged trim if you want a trim that will fit seamlessly with the surface.
3. Go for a beveled trim for depth and get a flat trim for a minimalist finish.
Functionality
1. Damp/Wet Location Trims: suitable for places where water could contact the trim, like the shower. You can also use wet and damp location trims anywhere.
Fixed/Adjustable Trims: Adjustable or fixed trim is perfect for walls or sloped ceilings that you can wash. These trims are directional and help enable flexibility while directing lights or gimbal trims that aren’t very flexible.
Open Reflector Trims: this kind of trim is known to emit the highest amount of light possible. However, the specular trims and baffles reduce glare.
Lamps
Recessed lighting lamps are LEDs mostly. But, if you are not using LED, you can consider any of the following lamps;
A Lamp: They are the most popular type of lamp that is very useful in many applications though they don’t have any exceptional strength or visible weakness.
R Lamp: these lamps contain excellent beam control and a reflector. You can use it as a spot, display, or floodlight.
PAR Lamps: PAR lamps are the best choices for general and tasking lighting. They’ve wide beams and are popular.
MR16: they are ideal for accent lighting thanks to their excellent beam control.
How To Install Recessed Lighting In An Easy Way
Installing recessed lights is pretty easy, and you can do it in less than an hour. But, when engaging in any electricity projects, take the following precautions:
- Please turn off the power at the home’s main circuit box and cover the switch with tape to avoid turning it back while working.
- Test the wire to make sure that the power is off and place the wall switch in the off position.
- Any electrical connection should be in agreement with local codes. Get the permit with local authorities if need be.
- If you’re in doubt, consult a professional electrician.
- Never use a bulb that has greater wattage than that specified for your fixtures.
With all this in place, you are ready to go. Although it’s advisable first to take your time and read the manufactures instructions carefully since all fixtures aren’t the same. After turning off the lights, proceed following these steps;
Step 1: Determine Your Recessed Lighting Layout.
Planning your layout for a recessed lighting project is a very significant part of the process. After figuring out where your design will be, mark all the spots with a small piece of tape on the ceiling.
Step 2: Locate The Ceiling Joists.
To avoid drilling in the new installation, locate the overhead ceiling joists using a stud finder to speed up.
Joists are between 16-24 inches apart, and if you manage to locate one, it will be easier to find others with a stud finder.
Step 3: Take Your Measurements
Many of these lights come with a paper template for tracing a circle on the ceiling. In contrast, the most popular sizes are 4,5, and 6 diameters. Mark the exact location of the light and ensure there’s no joist nearby. If you fit an old light, measure the existing hole size.
Step 4: Cut Holes In The Ceiling
Take your drill bit, drill the hole cut, and then use a drywall saw to cut each outline for the light fixtures. Ensure you provide a smooth cut. Avoid overcutting the hole so as not to damage your ceiling or ruin the installation.
Step 5: Remove The Existing Fixture And Junction Box
If you are doing the replacement, unscrew the wires connectors joining your light fixtures wires and then separate them. Avoid cutting the cables because it might leave them short. To cut off the junction box from the joist that is attached to it, use a saw. Pull it out of the ceiling carefully.
Step 6: Connect And Secure Wiring
Once the lights are installed, the junction box houses all the wires. Open the attached junction box on your light and clamp protruding wires from the ceiling to the box. Be sure to leave enough room to move these wires quickly if needed.
To secure your connection, locate the ground wire from the electric source, twist both of them and place a wire cap over them. The light must have three wires, i.e., two conductors wires and a copper wire.
Strip the plastic installation from the end of the wires and pair them using wire nuts. Match the wire connection to your fixtures, i.e., a white wire to a white wire, and so on. Tuck all the connected wire into the junction box, cover it with a lid, and placed it inside the ceiling.
Step 7: Testing The Power
Before mounting the housing, turn the power back temporarily and confirm if power reaches the bulb socket using a voltage tester. Turn the breaker back off after confirmation until the project is complete.
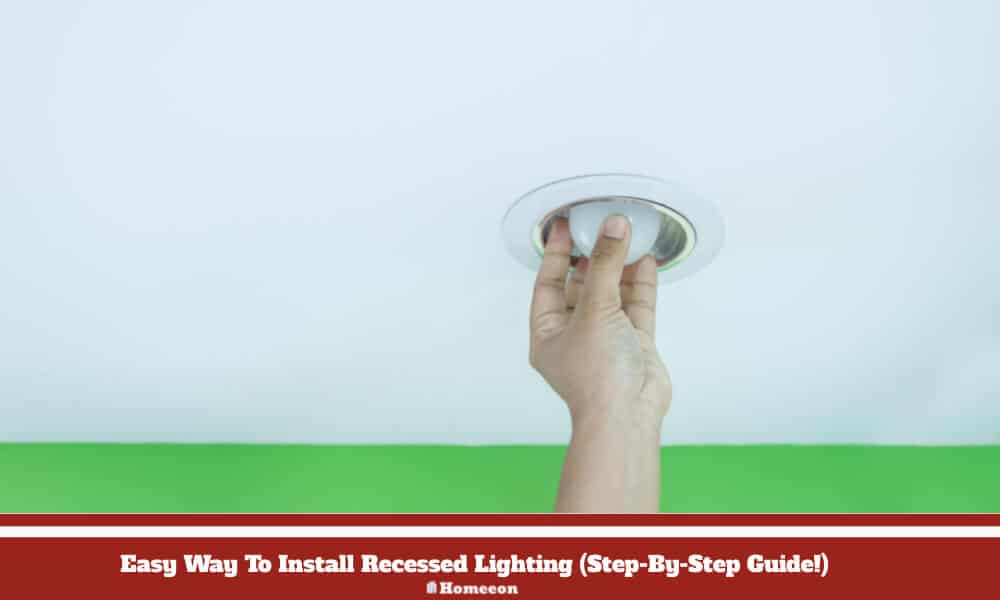
Step 8: Insert And Secure Housing.
Gently insert the housing back into the prepared holes. Locate the clips along the edge and push them outward using the screwdriver until a click is felt to clamp your house to the ceiling securely. Tug on the housing gently once all the clips are used to firmly attach to the top.
Step 9: Attach Your Baffle And Trim.
In several cases, both baffle and trim are attached to the housing with metal springs. Pull away the springs to the most extended reach, and connect to your housing at the compatible holes in the can. Slide the baffle and trim upward till the trim levels with your ceiling.
Step 10: Select A Bulb
Get a bulb of approved size, wattage, and warmth for your fixtures. LED bulbs and halogen are the most popular recessed lighting. Ensure your bulb is dimmable if you use a dimmer switch. Restore your power.
Benefits Of Recessed Lighting
- The hidden source of light
- Energy-efficient
- Additional beauty and radiance to any place
- It consumes less power than a chandelier
- Pocket-friendly
Limitation Of Recessed Lighting
- A permanent type of light
- The installation process might require a professional electrician.
Cost Of Installing Recessed Light Per Light
| Cost | In Dollars |
| High | 480 |
| Average | 360 |
| Low | 240 |
What Is Recessed Lighting?
Recessed lighting, also known as downlighting or can lighting, refers to light fixtures installed into the ceiling or wall, creating a flush, inconspicuous appearance. These fixtures are placed inside a hollow opening, providing focused and unobtrusive illumination to a room without taking up much visual space.
Final Thought!
Recessed lighting is the modern and most popular method used by several homeowners nowadays. The illuminating ambiance gives beauty and perfect finishing to your interior style like no other type of lighting. It’s cost-effective and an excellent choice for different places in your home.
References:
https://www.thespruce.com/how-to-install-recessed-lighting-5192848
https://www.forbes.com/home-improvement/electrical/install-recessed-lighting/
Emma is a graduate of Domestic Science or Family and Consumer Sciences (Home Economics) from the University of Wisconsin. She has 7 years of experience Working with the strategic section of BestBuy and now writing full-time for Homeeon.
From Managing the Home, Interiors, Cleaning, and Exteriors to Gardening and everything about Making A Home Liveable – is her passion and this Homeeon is the result of this.
Emma loves decorating her home with the best stuff found online. She cares about quality over anything and writes reviews about them here in Homeeon. Get in touch with her over Pinterest.
Keep reading her blogs.