Last Updated on July 30, 2023 By Emma W. Thomas
To replace a bathtub faucet:
- Turn off the water supply.
- Remove the old faucet handles and trim.
- Disconnect supply lines.
- Unscrew the old faucet.
- Install the new faucet by following the manufacturer’s instructions.
- Reconnect supply lines.
- Turn on the water supply and check for leaks.
Replacing A Bathroom Faucet: A Step By Step Guide
Before we show you how to fix your bathroom faucet, here are some of the tools you need;
- Pliers
- Flathead screwdriver
- Allen Wrench
- Plumber’s tape
- Socket wrench tool
- Cleaning cloth or sponge
- All replacement bathtub faucets are being replaced
How To Remove Your Faucet?
To replace your bathtub faucet, you need to remove the existing one first. Remove your old faucet carefully not to damage the supply lines or sinks by following these instructions;
Step 1: Turn Off The Water Supply
The first thing you do is to shut up the water supply. Usually, you will locate the shutoff valves below the sink and turn them off. If your faucets don’t have fixtures shut off valves, turn off the main water supply for the entire house. Turning off the water supply help avoid an instant flood when you start disassembling the taps.
Step 2: Drain The Faucet
To avoid messing up all places with water spillage, drain the faucet before you remove it. Open the tap and allow water to empty through the spout. Turn off the tap once the fixture and pipes are empty.
Step 3: Remove The Cover Of The Handle
The cover is a small piece of plastic that is placed in the center of the handle. It covers the screws holding the handle in position. Using the flathead screwdriver, pry it out by sliding it below the side of the plastic cover. The plastic cover differs in size depending on available handles.
Step 4: Remove The Screws
Cover your drain to avoid losing any of the screws. Keenly remove the screw underneath the cover by turning it counterclockwise using the screwdriver. Check also the cover plate; if there are one or more screws. Use the same method and remove them all. Put your screws aside in a place where you can easily find them when needed.
Step 5: Remove The Stem
What sticks typically out of the wall is the stem. The stem resembles a pipe and controls the tap. Depending on your bathtub setup, you could use either the socket wrench or pliers to remove it. Use your pliers to loosen the stem quickly if the nut is on the outside of the wall.
Slide the open wrench across the stem and use the pliers to rotate anticlockwise to loosen it. When it’s loose enough, pull it away from the wall. If yours have two handles, use the same procedure for both.
Step 6: Remove The Spout
Inspect your spout underneath and find the screws that hold it in place. Take your Allen wrench and rotate it anticlockwise to loosen the screws. Pull the fixture off the pipe after removing the screws.
Please note some spouts have an inside thread, so they don’t use screws. To remove such a tap, rotate the tap anticlockwise.
You may need some pliers to get started with this step. In such a case, put cloth around the faucet before using your pliers to avoid possible scratches.
Step 7: Measure The Pipe
Measure the size of the pipe that extends from the wall after removing the faucet. Use a regular measuring tape to measure and remember to write the measurements down on a piece of paper. These measurements are very crucial when purchasing a replacement. Ensure the new tap is slightly longer than the pipe.
How To Install The New Faucet?
After removing your bathtub faucet successfully, the next step is to install them. Here are the simple steps to follow:
Step 1: Buy The New Faucet
We suggest you bring along the old faucet when shopping for a new kit to get the correct stem measurements. The new stem should have the same size as the old one to fit your pipes perfectly.
Pick any handles that you like, but you can’t replace multiple handles with single ones. Better off; look for faucet kits that have handles and stems. Thus, making your installation easier since everything fits.
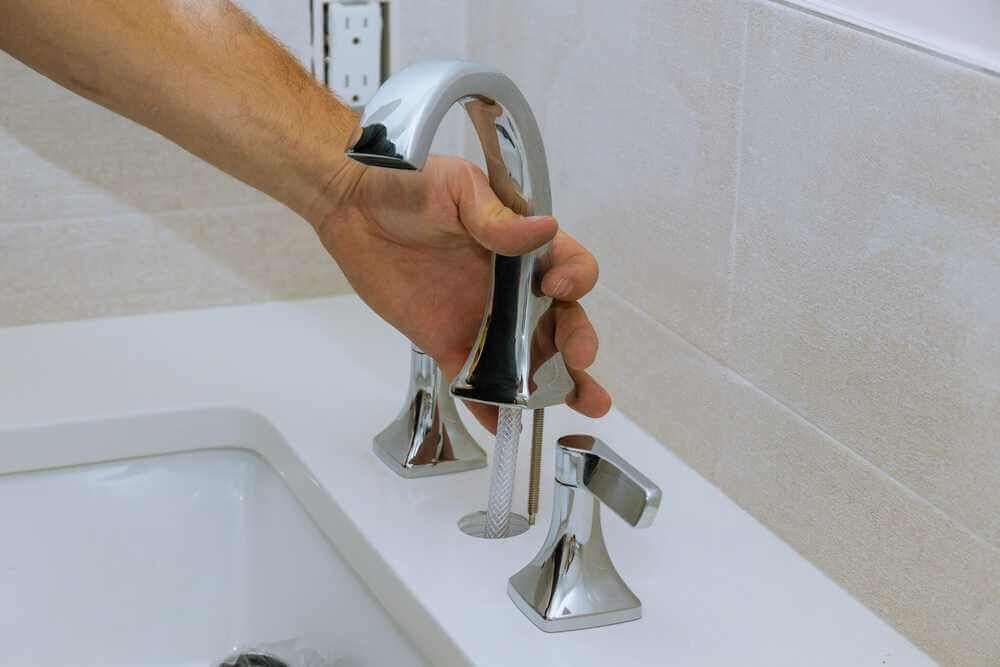
Step 2: Install The New Stem.
Now place the end of the new faucet with threads where the old one was. After putting it, turn it clockwise and tighten using your hand. Afterward, take the socket wrench or pliers and seal the connections further. For multiple handles, screw a stem in each one of them.
Step 3: Installing The New Handles
After installing the stem securely in position, it’s now time to install your handle. Put the grip onto the stem; push it back till it reaches the wall. Use your screwdriver to tighten the screw securely in place once the handle is over the stem.
For a handle with a cover plate, please attach it to the wall first before the handle. Take your screwdriver and tighten the screws clockwise.
It’s a good idea to caulk around your handles if they are not watertight to ensure no water enters the wall. Caulk is a sealer used to close the gaps between the materials, mainly used around bathtubs, toilets, and sinks. The main types of caulk are acrylic latex and silicone. Buy the correct tools and bathtub caulks at the supply store or hardware near you.
How To Install Your New Spout?
Step 1: Buy A New Spout.
Get a new spout at your nearest hardware or supply store. Ensure it matches your handle’s style and finish.
Take out your note with the pipe measurements; make sure the new spout is slightly more extended than the pipe. It should be attached in the same manner as the old one. Take along the old fixture to ensure you purchase the correct size.
Step 2: Use Plumber’s Tape
Take plumber tape; wrap it all around the threaded part of the pipe that comes out of the wall most of the time. Cut it and seal it by pressing it down using your fingers. The plumber’s tape will prevent any possible leaks from your spout.
Purchase the plumber’s tape from the nearest supply store or hardware if you don’t have it at home. It would help if you did not use any other available because plumber tape is waterproof and thus prevent any leaks.
Step 3: Attach The Spout
Put your new tap over the pipe and turn it clockwise. To avoid damaging the pipe, tighten the spout with your hands. Continue turning the fixture until it becomes tough to proceed. The tap should be straight; continue rotating unevenly and anticlockwise until it’s ok.
Use a spout adapter if yours won’t screw on because the pipe is too short. A spout adapter is an extension that goes in between the pipe and the spout. First, attach it to the pipe, and then rotate the tap onto the wing. You can use an Allen wrench to tighten further screws at the bottom of the faucet.
Step 4: Test It
When everything is set, test it by turning on the water and checking the connection for leaks. Allow the water to run for 30 seconds for the air to get out of the pipes. If there are no leaks, you’re good to go, but if there are any, call the plumber or check the problem and fix it once more.
How Much Is The Cost Of A Bathtub Faucet?
The cost of a bathtub differs mainly due to the quality, brand, finish, and parts included. Spout can cost you between $ 100 and $ 150; though keep in mind that you need to purchase other features. It’s always better to buy complete kits that include a spout, handles, and stems. However, these kits might cost more, but you get everything you want, plus they match.
Why Do Bathtub Faucets Leaks?

These are some of the problems that can occur with any bathtub faucet;
Corrosion Of Some Parts Within The Body Of The Faucet
Corrosion deforms the water inlet ports forcing the washers or seals on the faucet stem or cartridge to no longer seal properly. This stops the flow of water, and the ideal solution is to replace the entire faucet.
Worn-Out O-Rings
Leaking around the base of the spout is generally caused by a worn O-ring around the faucet’s body underneath the spout assembly. It can occur with either traditional compression or cartridge faucets.
Mineral Build-Up
Mineral build-up on the inner parts may cause any faucet to leak. Any mineral build-up interferes with the faucet’s ability to seal water inlets.
Final Thought!
Replacing your Bathtub faucet is doable; you have to ensure you get the correct measurements. To avoid any confusion, take along your old items to the supply store or hardware, and let them show you similar kits. Go for a quality bathtub faucet kit within your budget and get rid of leaks and annoyance. DIY and save money!
References:
https://www.wikihow.com/Change-a-Bathtub-Faucet
https://www.thespruce.com/how-to-replace-a-bathtub-faucet-5210836
Emma is a graduate of Domestic Science or Family and Consumer Sciences (Home Economics) from the University of Wisconsin. She has 7 years of experience Working with the strategic section of BestBuy and now writing full-time for Homeeon.
From Managing the Home, Interiors, Cleaning, and Exteriors to Gardening and everything about Making A Home Liveable – is her passion and this Homeeon is the result of this.
Emma loves decorating her home with the best stuff found online. She cares about quality over anything and writes reviews about them here in Homeeon. Get in touch with her over Pinterest.
Keep reading her blogs.