
Last Updated on August 16, 2023 By Emma W. Thomas
Grout dries different colors due to factors like water content and uneven drying. Around 90% of the color change occurs within a week, while full curing takes up to 28 days. Pigments and additives also affect the final hue.
Why Does Grout Dry Different Colors?
Grout is a very crucial component in any tiling project. It fills in the gaps between tiles, adding strength and durability. However, sometimes after application, it can dry in different colors, causing a significant hit to the aesthetic of the tiled surface. This listicle provides insight into why grout could potentially dry in different colors.
1. Inconsistent Mixing:
One of the swiftest ways to end up with differently colored grout lines is by incorrectly or inconsistently mixing your grout. If the grout-to-water ratio differs per batch, or even if the mixing process varies, the color of the dried grout can also differ.
2. Use of Excess Water:
Applying too much water while cleaning up grout residue after application can lead to color inconsistency in dried grout. Excess water can dissolve and wash out the pigment from the grout, resulting in lighter patches when it dries.
3. Drying Time and Conditions:
If certain parts of the grout lines are exposed to different levels of air flow or humidity conditions, they may end up drying at different rates. This can result in color variations across your grout lines.
4. Efflorescence:
This is a common issue where salts within the grout migrate to the surface during the drying process, causing a whitish hue. It’s more noticeable on darker grouts and is often mistaken for discoloration.
5. Differences in Grout Batches:
Even when purchased from the same manufacturer, there can be subtle differences in color from batch to batch due to slight variations in ingredients or manufacturing processes.
6. Type and Color of Tiles:
In some situations, the type and color of tiles used can also affect the final color of grout. Darker tiles can rub color onto lighter grout, and ingredients in certain types of tiles can react with the grout leading to discoloration.
| Reasons for Color Variations | Key Takeaway |
|---|---|
| Inconsistent Mixing | Ensure consistent ratio and mixing technique |
| Use of Excess Water | Be careful with water usage during cleanup |
| Drying Time & Conditions | Ensure similar drying conditions across all lines |
| Efflorescence | This is a normal occurrence |
| Differences in Grout Batches | Buy all needed grout from same batch if possible |
| Type and Color of Tiles | Choose your tiles and grout carefully |
How Long Can Grout Sit Before Wiping?
After applying grout to your wall and floor, you need to leave it for about 10 to 30 minutes to set. After the grout is well set, use a damp grout sponge to wipe up any excess. The maximum time that grout should sit before wiping is 30 minutes, so ensure you apply grout on sections you can clean at that time.
How To Fix Grout That Dries Different Colors
Grout discoloration makes your tiling look shoddily done and unattractive. We researched how you can return the glory of your tiling and came up with sure methods of fixing grout that dries a different color. You can choose to:
- Remove some grout and reapply well-mixed grout or use a sealant
- Apply a water-based grout tint
- Use a thinner to disguise uneven color.
1. Remove Some Grout And Reapply Well-Mixed Grout Or Use A Sealant
Removing discolored grout and reapplying well-mixed grout is the most thorough and intensive solution you can opt for. This method works best only if the discoloration hasn’t affected a large area or the tiling.
How To Reapply Grout
For you to reapply grout, you need to remove the old grout, then apply a new one and seal it to avoid further discoloration. This process needs you to have tools such as a grout saw, an electric multi-tool, and grout. Let’s look at the process step by step:
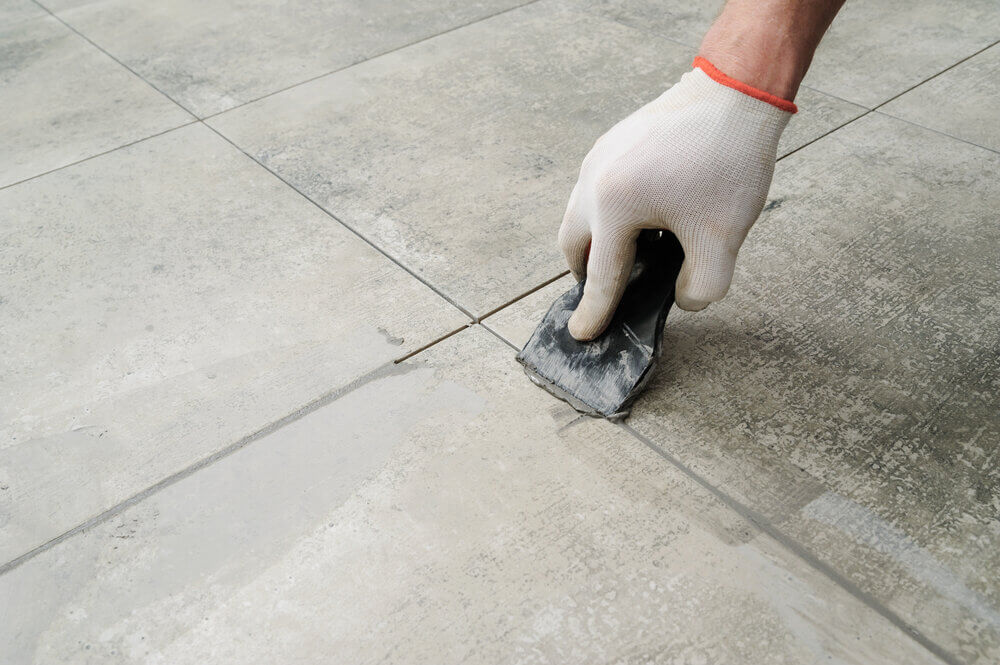
1. Remove Old Grout
To begin the process, remove old grout using a grout saw or an electric multi-tool fitted with a tile blade. Be sure to clean up the edges and tight spaces too and remove grout particles using a vacuum cleaner.
2. Choose The Appropriate Grout And Add Pigment If Desired
Choose either sanded or unsanded grout depending on the with of your joints. If you want to add pigment to your grout, then do it at this stage. You can use a liquid die or powdered pigments that are meant specifically for grout.
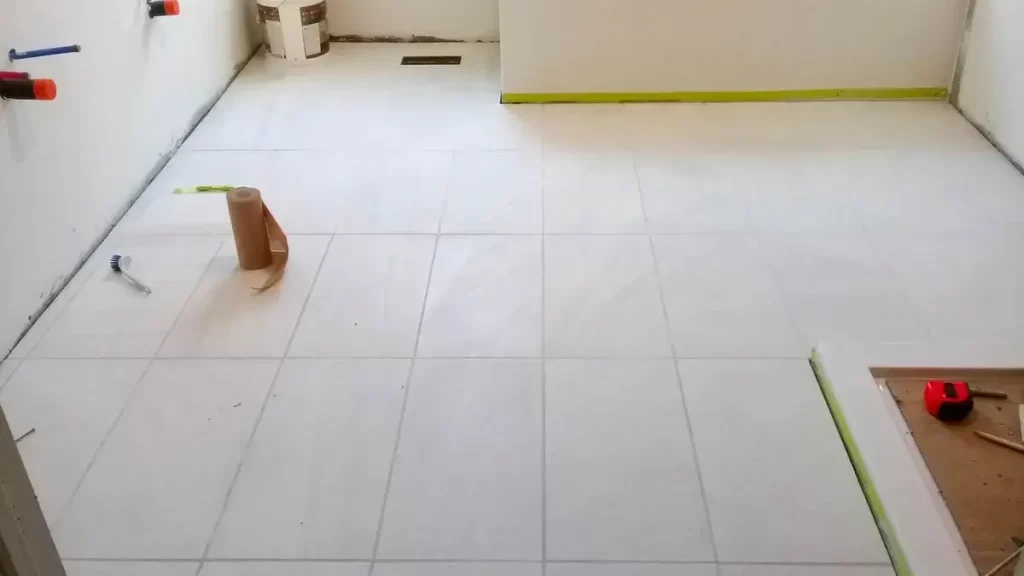
3. Mix And Apply The Grout
Mix the grout following the manufacturers’ instructions for the best results. When mixing, it is advisable to mix the powder into the liquid rather than adding liquid to the grout powder. Perfect grout mixture should have a paste-like consistency like mayonnaise or waffle batter. After making the paste, allow it to slake then mix again. Apply the grout to the joints while removing the excess and cleaning the tiles using a grout sponge.
4. Seal The Grout
After applying the grout and it’s fully cured, you can opt to seal the grout to prevent further discoloration and staining. Sealing the grout gives it a shiny and darker appearance. Before sealing the grout, have it in mind that it might be impossible to change the grout color after sealing.
5. Apply A Water-Based Grout Tint
Using a tint or colorant is another fast and easier way to correct uneven grout coloration. Before you use a tint, make sure the grout doesn’t have a sealer, and it doesn’t shed water easily. Test the tint on a less noticeable surface first before using it. If you love the results, it’s time to get started. Clean your tiles and grout thoroughly and leave to dry. You can tape off tiles to prevent staining them, although this is optional. Apply colorant using a pen or grout brush to small sections at a time. Wipe off any excess colorant and let the grout dry. You can apply grout sealant at this stage if you desire.
6. Use A Thinner To Disguise The Uneven Color
A lacquer thinner helps to lighten the color of the grout and remove any additional stains. Use a stripper on the grot lines and wait for blisters to appear then wipe it off. Apply thinner liberally to the grout lines and wipe off excess thinner. Leave the surface to dry for at least 24 hours then apply a sealer if you wish.
Now that you know how to correct grout that dries in different colors, we hope you will take action and have nice-looking tiles. Let’s look at some great tips that will prevent your grout from drying in different colors.
How To Keep Grout From Drying In Different Colors
- Use the same mixing technique throughout
- Maintain uniform depth and width of grout joints
- Provide shade when tiling in windy and hot conditions
- Always follow the manufacturer’s directions
- Use only the recommended amount of water
- Use little or no water for the cleanup
- Give grout sufficient time to cure and dry
Conclusion
The quality of grouting greatly impacts the outcome of any tile work. Stained grouting can make even expensive tiles look mediocre. You need to be careful for you to have a desirable outcome. Make sure you follow the manufacturer’s instructions when mixing grout for the best result. Avoid using too much water when mixing grout since too much water causes discoloration. When mixing, you can use a third of the recommended water quantity then add the rest slowly till you get the right consistency. Experts recommend grouting a section at a time for best results. Using good quality grout from a renowned manufacturer also goes a long way.
After grouting, you can use a sealer to prevent any discoloration in the future and also to have that shiny finish on your grouting. We hope this information is helpful to you as you remedy your discolored grout and to help you prevent discoloration in the future. Have a happy tiling experience going forward.
References:
https://ctasc.com/expert-answers/how-to-fix-grout-color-variation/
https://doublerbuilders.com/why-tile-grout-inconsistent-color/
Emma is a graduate of Domestic Science or Family and Consumer Sciences (Home Economics) from the University of Wisconsin. She has 7 years of experience Working with the strategic section of BestBuy and now writing full-time for Homeeon.
From Managing the Home, Interiors, Cleaning, and Exteriors to Gardening and everything about Making A Home Liveable – is her passion and this Homeeon is the result of this.
Emma loves decorating her home with the best stuff found online. She cares about quality over anything and writes reviews about them here in Homeeon. Get in touch with her over Pinterest.
Keep reading her blogs.