Last Updated on August 8, 2023 By Emma W. Thomas
Caulk typically lasts around 5 to 10 years. Silicone caulk can last up to 20 years, while acrylic or latex caulk may need reapplication sooner. Factors like exposure to moisture, temperature changes, and maintenance affect its longevity.
Some Types Of Caulk And How Long They Last
| Type Of Caulk | How Long It Lasts |
| Silicone caulk | Up to 20 years (if applied correctly) |
| polyurethane | 5-10 years |
| Acrylic latex (painter’s caulk | Up to 20 years |
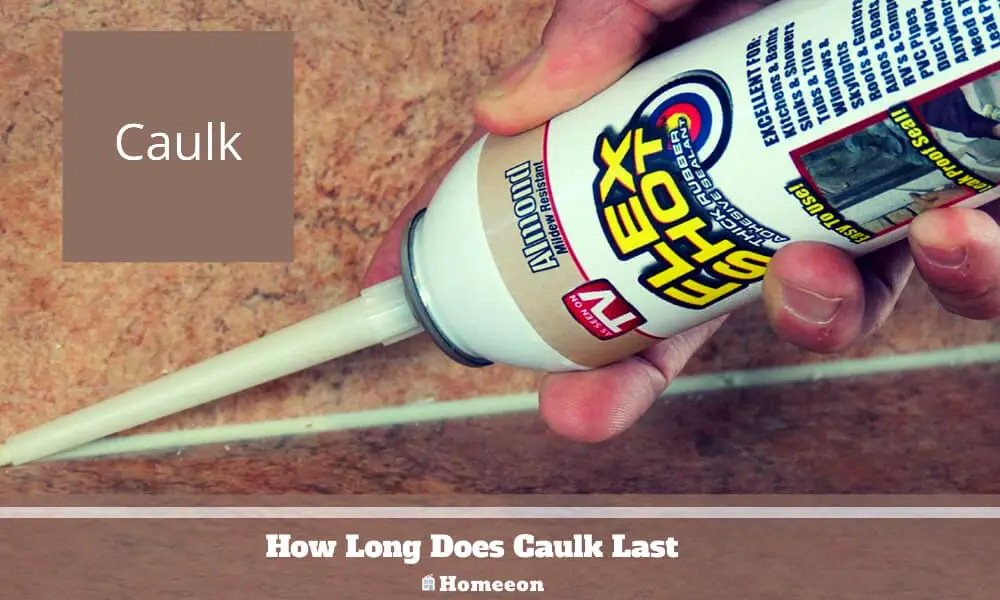
Caulk is a flexible, thick, adhesive substance that is used as glue and a sealant. The material is applied using a caulking gun on exposed joints and it cures while drying. You can use caulk in the shower room, around faucets, and sinks. You will also use it at the joint of ceiling and tile, along tub surround joints, tub surrounds top, and more.
When Should You Replace Your Caulk?
A time comes when you will need to replace your caulk regardless of the quality of the material used. No matter the application process, you will eventually have to change the caulk. The following signs are an indication of when you need to replace this substance:
- When your caulk is older than five years
- If your calk cracks or dries out
- If you find mildew or mold beneath the surface of the caulk. There could be water leakage
- When the caulk is missing or peeling
Can You Put the New Caulk Over Old One?
Yes. You can apply new caulk over old caulk but you will have to put a wider bead. A wider bead of new caulk will cover the old one and stick to the un-caulked surfaces on each side. Before applying the new caulk, ensure that the surface of the bead and the surrounding areas are clean. You can use rubbing alcohol to remove as much oil as possible.
Try a small part with the wider bead to see if it sticks well. Use a caulking gun to apply the wider bead of the new caulk. Check that the caulk adheres to the surface on both sides of the older caulk.
How To Remove Old Caulking
It is not always a must to get rid of old caulk before applying for a new one. However, if the old caulk is silicone, then it is best to remove it. No other substance (not even the material itself) adheres to silicone. If you want to remove silicone caulk, use a razor blade scraper tool or a silicone remover.
When using a razor blade device, hold it at a lower angle and press on lightly to cut into the caulk. If on the other hand, you use a silicone remover, make sure that you follow the instructions on the package. If you want to remove the acrylic caulk that was recently applied, you can try to soften it using isopropyl alcohol (be careful not to pour alcohol on the surface without caulk).
Use a household cleaner, wire brush, or rubbing alcohol to clean the area thoroughly after removing all the old caulk. You can also vacuum if need be then wiped with a clean cloth. Before applying the new caulk, ensure that the area is clean and dry. There should also not be any traces of dirt, chemical cleaner, or grease.
Does Silicone Caulk Go Bad?
Yes. Silicone caulk has a guarantee of a one-year shelf-life. It is, therefore, necessary to test your caulk before using it on any project. When you want to know whether your caulk has expired, feel the texture in the tube and if it is hardened, then do not use it.
You can also test it by squeezing out a little amount and waiting for 15-20 minutes then checking if it has formed a skin. If there is no skin formed, it means the caulk might not cure properly once you apply it.
Differences Between Silicone And Polyurethane Caulk
There are several properties that make silicone different from polyurethane caulk as shown below:
| Silicone Caulk | Polyurethane Caulk |
| It is inorganic | It is organic |
| Not broken by exposure to ultra-violate rays or extreme temperatures | Breaks when exposed to UV rays and extreme temperatures |
| Not affected by cold weather conditions | Not suitable for application in cold weather |
| Can last up to 20 years if applied correctly | Lasts for 5-10 years only |
| It is elastic and adheres to all surfaces except wood – it is water-resistant and perfect for bathrooms | Cannot be used on some surfaces especially high-moisture areas |
| Cannot be painted ( a disadvantage) | Can be painted (advantage) |
Can You Apply Caulk Without A Caulking Gun?
Yes, you can choose a caulk that comes in squeeze tube applicators. This type of caulk is designed for application without using caulk guns. But, always remember to select the correct caulk for your project. If you want caulk for window glass, tile, or any other caulking that becomes wet eventually, then silicone is what to choose. If you want a caulk that can be painted and become invisible, it is best to choose a painter’s caulk or latex.
Steps To Apply Silicone Caulk
The following simple steps will help you apply your caulk and get lasting results;
Step 1- Selecting A Suitable Color
Choose the best color of caulk that suits your application. You can match the tile or anything else that you want to seal. You may also match the grout lines to blend in your caulk. Cut off the tip about 3/16 inches wide on an angle.
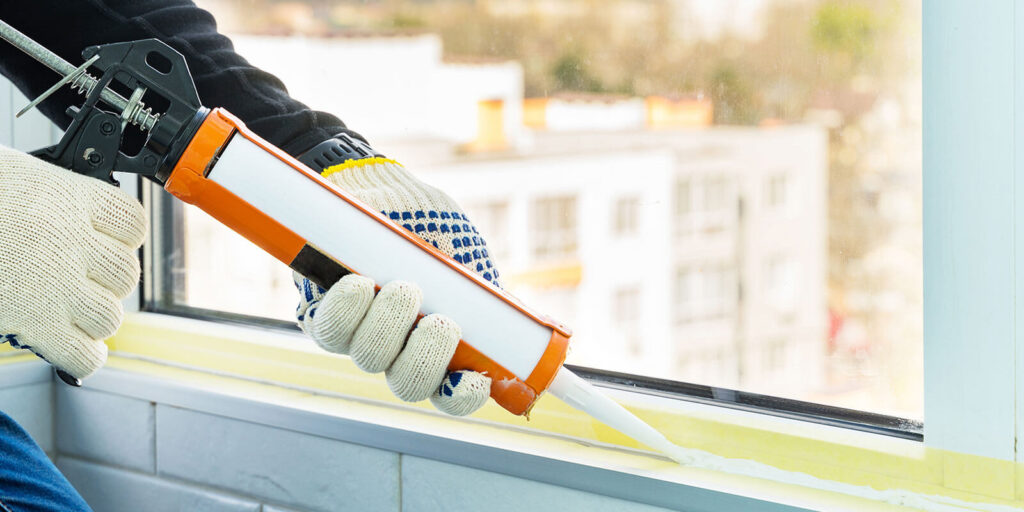
Step 2 – Hold The Tube From The Back And Squeeze Out The Caulk
Hold the tube from the back and ensure that the tip is aligned to the seam or any other line that you want to caulk. Curl the end of the tube into your hand to dispense the caulk while dragging the tip along the seam to seal it. Continue squeezing out the caulk at a moderate rate and let off the pressure about one inch before you stop the caulk bead.
Step 3 – Smooth The Caulk
Wear a latex glove to prevent caulk from sticking to your skin. You should then dip one of the gloved fingers in clear water to wet it. Using the finger, smooth the caulk to produce a neatly, curved bead. Ensure that the bead overlaps the other line or seam on each side.
Why Does Caulk Keep On Cracking And Splitting?

If your caulking has poor adhesion, it will lead to its pulling away from the surface and also falling out. Your caulk may lack adhesion due to sheetrock dust. If you don’t clean off the surface properly or the paint is of low quality that is chalky, this will result in poor adhesion.
Your caulk may not get into cracks that are too small or very tight but will just bridge over the surface. If this is the case, it will result in splitting even if the temperature and humidity changes are minor. Ensure that for the caulk to fill in the crack correctly there is 1/16 to 1/4 inches.
The staircase is one of the most susceptible areas to caulking due to vibrations as a result of people walking up and down. Ensure that the stringers are nailed tight. The exterior caulk also needs to be thicker than the interior caulk since they withstand more dramatic weather changes. A small bead of caulk is likely to split and crack.
How To Prevent Cracking And Splitting
- Use a high-quality caulk for better adhesion and elasticity
- Get rid of chalky paint and dust from the surface
- Nail the trim tightly
- Ensure that there is a gap wide enough for caulk to fill properly
- Excessively wet wipe the interior caulk to leave a thin bead
Conclusion
The length of time that caulk lasts depends on various factors such as the application process, and the type of material used, among others. But you need to practice enough caution as outlined here to get the best outcome of caulking.
References:
https://www.mccoys.com/knowledge-center/time-to-re-caulk
https://www.correctcaulking.com.au/uncategorized/how-long-does-caulking-last/
Emma is a graduate of Domestic Science or Family and Consumer Sciences (Home Economics) from the University of Wisconsin. She has 7 years of experience Working with the strategic section of BestBuy and now writing full-time for Homeeon.
From Managing the Home, Interiors, Cleaning, and Exteriors to Gardening and everything about Making A Home Liveable – is her passion and this Homeeon is the result of this.
Emma loves decorating her home with the best stuff found online. She cares about quality over anything and writes reviews about them here in Homeeon. Get in touch with her over Pinterest.
Keep reading her blogs.