Last Updated on July 24, 2023 By Emma W. Thomas
To insulate a finished garage, you can drill tiny holes into the drywall and then fill them using blown-in or injection foam insulation. You can also use spray foam insulation which expands when in contact with air to fill any cracks and prevent any cold air from getting in or hot air from escaping.
How To Insulate A Finished Garage That’s Already Drywalled
Insulating an already dry-walled, finished garage can be a bit tricky but not impossible. There are several steps to accomplish this task without causing any major damage. The following guide will help in understanding the key steps involved in the process.
1. Identify The Type of Insulation Needed
There are several types of insulation available, each with its own advantages and benefits meant for specific use.
- Fiberglass: This is the most common type of insulation used for a finished garage. It is cheaper, easier to install, and has a higher R-value.
- Cellulose: It is an eco-friendly option made of recycled materials, making it a greener choice.
- Spray foam: This type of insulation is the most efficient but relatively expensive.
2. Preparing Your Garage
Start by:
- Making sure the garage is clean and free from dust.
- Locating all the cracks and gaps. Fill them using a filler before applying insulation to ensure the effectiveness of insulation.
- Use a stud finder to locate the studs in the wall. They may be needed later for the installation process.
3. Insulating The Garage
Different types of insulation are installed in different ways.
- For Fiberglass:
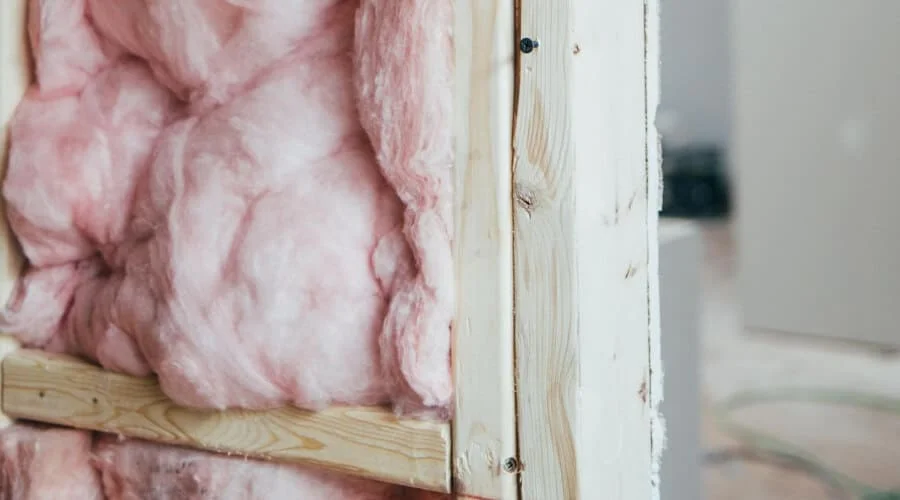
- Cut the fiberglass insulation to fit against the framing members.
- Place the cut insulation between the wall studs and press it gently into place.
- Secure it with tape or staples.
- For Cellulose:
- Spray adhesive on the wall and then apply cellulose insulation.
- Make sure to cover all the visible areas.
- For Spray Foam:
- Hire a professional to do it. This type of insulation requires a high level of expertise and equipment.
4. Adding a Vapor Barrier
After the insulation is installed, add a vapor barrier to prevent condensation. This will protect the walls and insulation from moisture and increase the effectiveness of the insulation.
5. Replace Drywall
Lastly, replace the drywall that was removed to install the insulation. Make sure to seal all the joints to stop the heated or cooled air from escaping.
By following these steps, the insulation process for a finished garage that’s already drywalled can be performed efficiently.
How To Install A Blown-In Insulation

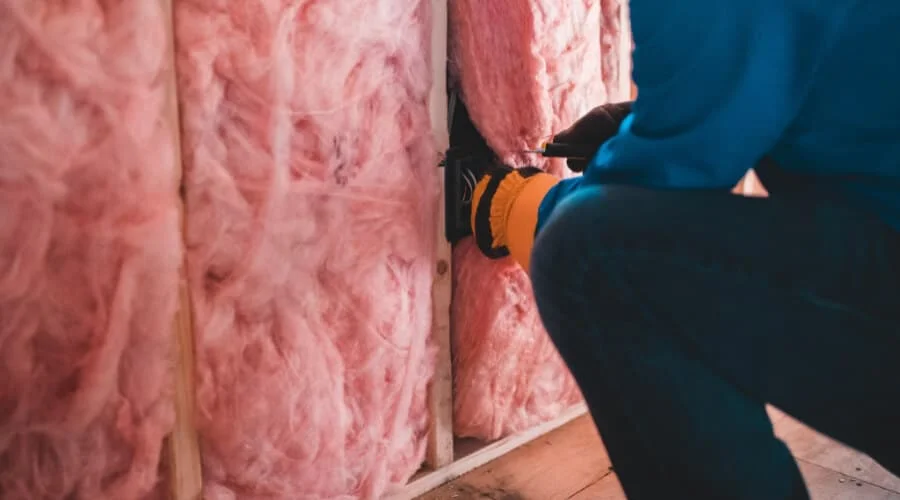
Blown-in insulation (often referred to as retrofitting) is a process that involves drilling access holes, blowing in the insulation then covering the holes. You can either hire professionals to do it or apply DIY skills. Here are the simple steps involved;
Cutting Holes In The Wall
The first step is to look for studs on the wall and mark them off with a pencil. Place some cloths on the floor to protect it, then drill 2-inch holes to fill these wall cavities. Ensure that the holes are high enough for insulation to pile up naturally and create an even layer.
Blowing-In The Insulation
This step involves the installers placing the hose into the wall and then inching it out slowly while blowing in the insulation tightly. Doing this helps to create evenly distributed insulation that is effective for all your wall needs. Since this process may cause a lot of dust to be kicked up, be sure to wear protective gear such as gloves, masks, and goggles to enhance personal protection and safety.
You can get mineral wool or fiberglass insulation blowers from building supply stores.
Patching And Painting
After blowing in the insulation, the final step is to patch the holes. To do this, you can save the drywall discs when drilling holes or cutting new plugs. Using drywall tape, secure the patch or disc in place, then cover it with a spackle. Allow the patch to dry before painting the walls. Ensure that you apply the same paint color for the wall to appear uniform.
Blow-in insulation is an effective process that helps to improve your garage’s thermal efficiency during the winter and summer seasons.
What Are The Common Materials Used In Blown-In Insulation?

Blown-in insulation uses materials that are in loose-fill form. These substances include;
Loose-Fill Fiberglass Wool
This material is made from glass fibers, and its loose-fill form has an R-value of between 2.2 and 2.7 per inch. If the substance is used in a 2 X 4 wall, it provides an R-value that ranges from 9 to 11, which does not usually meet the requirement. But, this material works well in attics since it can build up enough thickness.
Cellulose
Cellulose is made from recycled paper products making it eco-friendly. The materials making it include cardboard boxes and old newspapers. The R-value of loose-fill cellulose ranges between 3.2 to 3.8 per inch, making it suitable for use in a 2 X 4 wall as it achieves an R-value of 13 to 15. Using all-Borate Greenfiber cellulose helps to fill voids and gaps, thus creating a thermal energy covering.
This form of insulation is efficient and helps to reduce sound power by 60%. You will also lower your cooling and heating costs by about 25%.
Mineral Wool
Mineral wool (also referred to as Rockwool) is made from blast iron slag. While this material is quite expensive, it is the best option for garage walls since it has an R-value of 3.3 per inch. If your garage is linked to the home’s living space, mineral wool comes in handy as its fire rating is very high.
How Does Spray Foam Work?
Spray foam, also known as SPF (Spray Polyurethane Foam), comes in two portions, i.e., a resin and an iso, in separate containers. When the two liquids are sprayed simultaneously using a spray gun, they react, producing foam. This foam is usually 40-100 times the original volume.
Using spray foam is a modern and popular type of insulation that does not require removing the drywall. The spray material is a liquid that expands as it comes into contact with air. You need to spray the substance on top of the drywall. This substance has a soft, fluffy appearance with a high R-value. Once the foam is sprayed, it expands and seals any openings, thus preventing any hot air from escaping. It also prevents cold air from entering your space, and this way, it provides maximum insulation.
If you choose this form of insulation, you will require to hire the services of an expert and purchase the right PPE. Doing this ensures that both your skin and lungs are safe if you chose to DIY.
How To Use Injection Foam Insulation
Unlike spray foam, injection foam rarely expands and is less messy. While this insulation is preferable for exterior application, it can as well be used in the interior. You can follow these simple steps to apply injection foam insulation;
- Start by locating all closed cavities. A 2 x 4 drywall usually has its studs 16 inches apart, while those of a 2 x 6 drywall are 24 inches apart (but this may not be the case in an old house). You can use a stud finder to locate them.
- If there is only one cavity between two studs, cut three holes to push the injection foam hose into the cavity. These holes should be at the top, middle, and bottom of each stud bay.
- Pump the injection foam through the bottom hole first, followed by the middle, then the top hole. You may plug these holes.
What Is R-Value?
R-value refers to the measure of a substance’s resistance to heat flow. A material whose R-value is higher resists the flow of heat better than one with a low value.
Since heat moves from high to low-temperature levels, it will flow from your warmer garage to the cold outdoors. When insulating your garage, you need to use materials with higher resistance to the movement of heat. You need to choose R-value for the best insulation, whose range is R13 to R15 for 2 X 4 walls. On the other hand, if you are insulating 2 X 6 walls, then R19 – R21 will be ideal.
What Are The Benefits Of Insulating Your Garage?
Insulating a garage has its benefits which include;
It Makes The Garage Useful All Year Round
A properly insulated garage is useful not only for protecting cars but for other activities as well. Regardless of the weather, you can use this space as fitness & play areas, project workshops, and more.
Minimized Heat And Cold Transmission
An insulated garage attached to the home reduces the transmission of heat and cold, especially when the door is open. Insulation reduces the working of air conditioning which also reduces energy consumption.
Protection Of Personal Items
Insulating a garage helps to minimize humidity levels that may cause rusting and temperature extremes. If you store your item in this space, insulation helps to keep them from damage.
Reduction Of Noise Transmission
If you live in areas where neighbors are near and where you use your garage as a workshop, insulating it helps reduce noise disturbance. You will also enjoy your peace without hearing any noise coming from your neighbor’s place.
Protection From Carbon Monoxide
Insulating your garage helps to prevent any Carbon Monoxide from seeping into the home. If this gas is trapped in your garage, it may diffuse into the home, causing serious health problems for you and your family.
Improves Your Home’s Value
Besides adding comfort to your home and reducing energy costs, an insulated garage increases the value of your home. If you plan on selling your home, you can insulate your garage to make it more marketable and valuable.
Conclusion
You can insulate your dry-walled garage by use of blow-in, injection foam, or spray foam insulation. But, it is important to know how each method works and choose what suits you best. Be sure to use materials with the best R-value to achieve maximum insulation needs and make your home energy-efficient and comfortable to live in.
References:
https://garagemadesimple.com/how-to-insulate-a-finished-garage/
https://www.thetoolsquare.com/how-insulate-garage-ceiling-already-drywalled/
Emma is a graduate of Domestic Science or Family and Consumer Sciences (Home Economics) from the University of Wisconsin. She has 7 years of experience Working with the strategic section of BestBuy and now writing full-time for Homeeon.
From Managing the Home, Interiors, Cleaning, and Exteriors to Gardening and everything about Making A Home Liveable – is her passion and this Homeeon is the result of this.
Emma loves decorating her home with the best stuff found online. She cares about quality over anything and writes reviews about them here in Homeeon. Get in touch with her over Pinterest.
Keep reading her blogs.
