Last Updated on August 15, 2023 By Emma W. Thomas
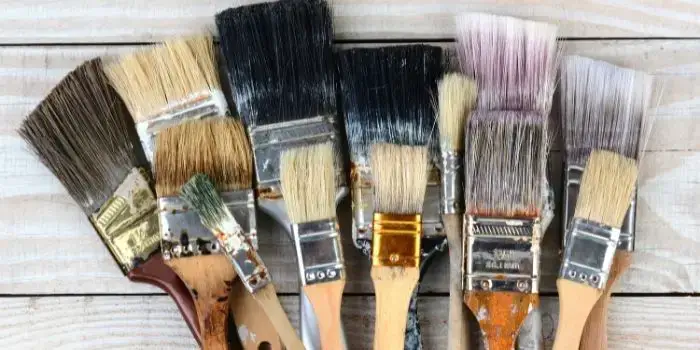
Chip brushes, typically 1 to 4 inches wide, are versatile tools used for various tasks like painting, glue application, cleaning, and touch-ups. Their natural or synthetic bristles make them suitable for both oil and water-based paints. Their affordability and utility make them popular among DIYers and professionals.
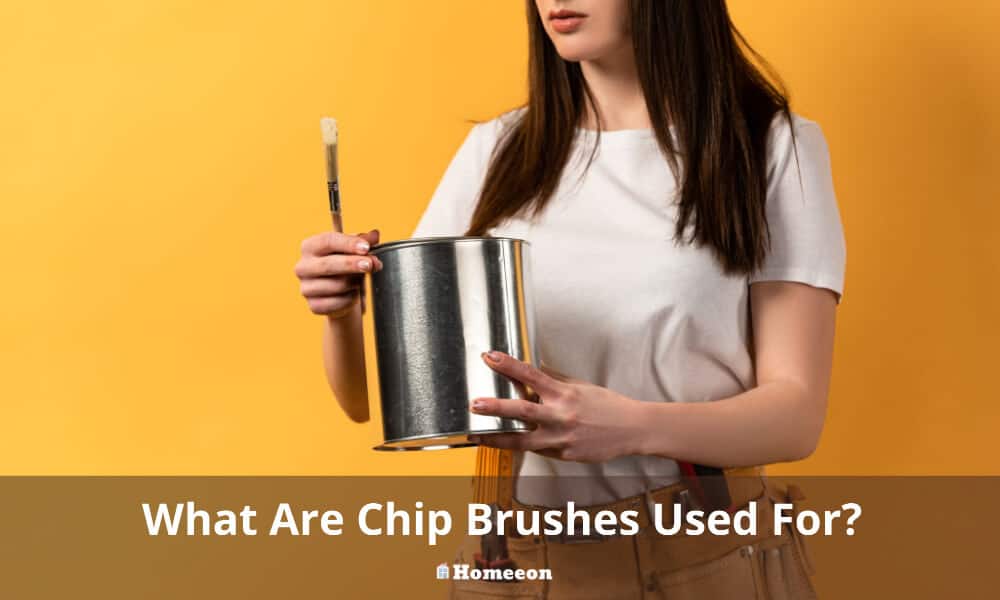
What Are Chip Brushes Used For?
Chip brushes, often used in professional settings, serve a variety of purposes due to their versatility. Below is a list of applications and benefits of using chip brushes.
- Paint Application
One of the primary uses of chip brushes is for applying paints. Especially popular for oil-based paints, a chip brush can provide a smooth finish with minimal brush strokes. - Glue Application
Chip brushes are ideal tools for applying glue to surfaces. The bristles can spread the adhesive evenly and efficiently without causing clumping. - Parts Cleaning
Cleaning mechanical pieces becomes more efficient with the use of chip brushes. These brushes can scrub away dirt or rust from crevices without causing any damage to the parts. - Pre-Paint Dusting
Smooth paint application requires clean and dust-free surfaces. Chip brushes work wonders in removing dust bits or residues before painting. - Fiberglass Resin Application
Fiberglass projects, particularly in marine environments, often use chip brushes for applying resins or topcoats. - Varnish or Sealer Application
Similar to paint, chip brushes are also ideal for applying varnishes or sealers on different surfaces. They can distribute the material evenly, ensuring a flawless finish. - Acid, Solvent, and Solder Applying
The ability to withstand strong substances makes chip brushes useful for applying acid, solvent, solder and other abrasive materials.
As you see, chip brushes have broad usage due to their design, durability, and cost-effectiveness. They’re not only functional but also disposable which adds to convenience and easy cleaning process post-application.
What is the difference between a chip brush and a paintbrush?
| Feature | Chip Brush | Paintbrush |
|---|---|---|
| Bristle Type | Stiff, natural bristles (usually hog hair) | Soft, synthetic or natural bristles |
| Purpose | Primarily used for rough surfaces and applying adhesives or coatings such as wood glue or epoxy | Designed for precise, smooth painting applications |
| Size Options | Typically available in smaller widths, such as 1 to 3 inches | Offered in various sizes, ranging from 0.5 to 4 inches or more |
| Handle Material | Varies – can be made of wood or plastic | Most commonly made of wood or plastic |
| Durability | Can be more durable due to the rigid bristles and construction | More delicate and may require more careful handling |
| Cleanability | Easier to clean due to firmer bristles | Can be more difficult to clean thoroughly |
| Price Range | Generally more affordable compared to paintbrushes | Typically slightly more expensive due to the softer bristle material and specialized design |
Can I use a chip brush to apply polyurethane?
Polyurethane is a popular and tough clear coating that’s used to protect wood from scratches and other harsh conditions. You can use a chip brush to apply oil-based polyurethane since it is made with natural bristles.
Can I apply chalk paint with a chip brush?
Yes, you can. If your desired output with chalk paint is a uniform and smooth finish, then a brush with natural and flexible bristles is the best. A chip brush gives a smooth finish when you apply chalk paint in uniform strokes.
How to choose the right brush for any project
Whether you want to paint or apply a coating, choosing a brush that is the right size, shape, and material can be daunting. We consulted a professional painter and got advice on how to choose the best brush for any project. Here are some tips for you from our consultation:
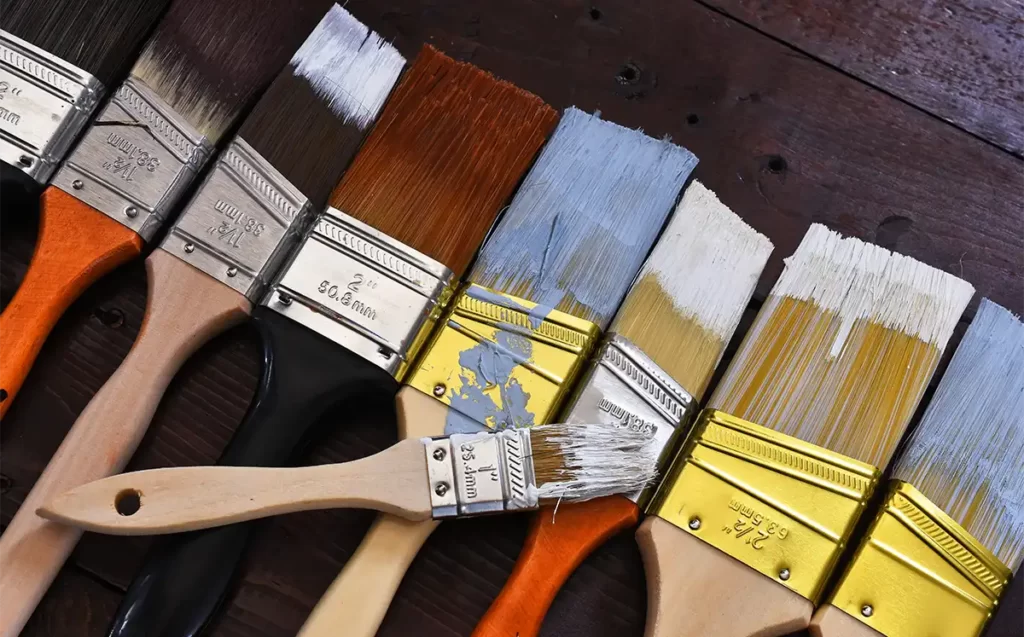
- Choose the right size of brush
Brushes are manufactured in different heights and widths, and you need to know the brush that goes well with your specific project. While it’s almost impossible to master what each size of the brush does, you can consult your crafts store before making a purchase. A small brush is easier to control when you’re looking for precision. For varnishing or painting woodwork, choose a small chip brush that’s about 1.5 inches wide. For walls and large flat surfaces, you need at least a 3-inch brush for the best cut in painting.
2. Choose bristles according to your project
Now that you already have an idea of the size you are looking for, it’s time to narrow it down to the bristles. You can choose either synthetic or natural bristles, depending on the finishing you want and the solvent you are using. A brush can be made of natural bristles such as black or white china or ox hair blend; some are even made of animal fur. The solvent type will determine the type of bristles you choose and whether your paint or varnish is oil-based or water-based. For oil-based paints and varnishes, a brush with natural bristles will give a smooth finish. For water-based varnish or paint, synthetic bristles are best since they don’t soak up water like natural bristles. Synthetic bristles are made from nylon, polyester, or Chinex. These brushes are easy to clean and have the right balance between smoothness and stiffness, resulting in a clean finish.
3. Consider the shape of your brush’s tip
Your project type should guide you on the right shape of brush tip. Some brushes have an angled tip, while others have squared or flat tips. Angled brushes are best for a cut-in type of painting or paint trimming. They give a smooth and seamless edge to your paintwork. For wide and flat surfaces, a flat or square-edged brush gives a perfect finish.
4. Quality of the brush
For chip brushes that you’ll use just once and then toss in the trash, quality isn’t a major consideration. If you are building your collection of brushes for your DIY projects, then you need a quality brush. There’s nothing as disheartening as having to remove fallen bristles from paint or sticky glue. Find brushes that are glued into the handle as opposed to just being crimped by metal since this type doesn’t come off quickly.
How to maintain and clean your brushes
Unless you are using a cheap brush that you intend to throw away, you want your brush to serve you for ages. To keep using your brushes for a variety of projects and still get amazing results, you need to keep them clean and store them properly. Here are some tips for storing your brush in between uses and after you’re done painting:
- When storing your brush in between uses, look if your paint pail has a magnet on the side that holds your brush and allows it to remain in the paint. If your pail doesn’t come with a magnet, dip only a third of your brush in paint and leave it there until the next use.
- For storing your brushes overnight, wrap them in cling film to keep them from drying and fraying. You can also submerge your brush in thinner or water, depending on the type of paint you are using to keep the paint from drying.
- For extended storage time, you need to clean your brush until it looks as good as new before storing it. To do this, remove excess paint on the brush then clean it with a suitable solvent. Ensure you safely dispose of the solvent then wash your brush with soap and water and rinse thoroughly. Dry your brush and run a paintbrush comb through the bristles to realign them. Wrap your brush in newspapers and secure them with adhesive tape, and your brush is safe to store for months.
Conclusion
If you love DIY projects, then I bet you have a variety of brushes, including chip brushes and paintbrushes in a variety of sizes. Knowing how to use and care for your brush is a great way to ensure you get the most out of them.
References:
https://woodworkingparts.wordpress.com/2010/08/17/chip-brushes-what-are-they-and-why-use-them/
https://www.h2ouse.org/what-is-a-chip-brush/
Emma is a graduate of Domestic Science or Family and Consumer Sciences (Home Economics) from the University of Wisconsin. She has 7 years of experience Working with the strategic section of BestBuy and now writing full-time for Homeeon.
From Managing the Home, Interiors, Cleaning, and Exteriors to Gardening and everything about Making A Home Liveable – is her passion and this Homeeon is the result of this.
Emma loves decorating her home with the best stuff found online. She cares about quality over anything and writes reviews about them here in Homeeon. Get in touch with her over Pinterest.
Keep reading her blogs.