Last Updated on August 15, 2023 By Emma W. Thomas
Sterilize soil by baking it at 180-200°F (82-93°C) for 30 minutes, or microwave damp soil on high for 90 seconds per pound. These methods kill pathogens, pests, and weed seeds, ensuring a clean planting medium. Always use appropriate safety measures to avoid burns or fires.
How To Sterilize Soil For Plants And Seeds
There are several ways you can apply to sterilize your garden soil at home including steaming and heating in the microwave or oven;
1. Steaming
Sterilizing your soil with steam is one of the best ways to potting mix. This process should be done until the temperature reaches 180oF or for at least 30 minutes, and you can do this with or without a pressure cooker.
When using a pressure cooker, you need to pour a few cups of water into it and place about 4 inches or 10cm of soil pans covered with foil on top of the rack. Cover the lid, but leave the steam valve open just enough to let the steam escape. You can then close the valve and heat it at a pressure of ten pounds for 15-30 minutes.
Practice caution when using pressure to sterilize soil rich in manure or nitrates since it can create an explosive mix.
Suppose you are not using a pressure cooker, place about 2.5cm of water into the sterilizing container. Put pans full of the soil and covered them with a foil on a rack on top of the water. Close the lid and allow the water to boil but leave some small openings to prevent a pressure buildup.
Once the steam escapes, let the water boil for about 30 minutes and allow the soil to cool. Ensure that the foil remains in place until your soil is ready to use.
2. Using An Oven
You can also sterilize your soil with an oven. Put about 4 inches deep soil in a glass, metal baking pan, or any other oven-safe container covered with a foil. Place a meat thermometer into the middle and bake at 180-200oF or for about 30 minutes.
Remove from the oven and let the soil cool with the foil in place until ready to use.
3. Using A Microwave
A microwave can also be used to sterilize the soil. Fill a container that is microwave-safe with moist soil. Quart-size containers with lids having ventilation holes and no foil are preferable. Heat the soil for 1 1/2 -seconds per each couple of pounds on full power. If you have a larger microwave, you can place several containers with soil. Cover the vent holes with tape, let it cool, and leave until ready for use.
Alternatively, you can put 1kg (two pounds) of moist soil in a polypropylene bag and place it in the microwave. Leave the top left open for ventilation and heat the soil for about 2 ½ – minutes on full power. Seal the bag and let it cool before removing it.
4. Using Solar Heat
If you are sterilizing large amounts of soil, such as entire fields or gardens, you can use natural heat from the sun. The principle involves covering your soil with layers of plastic and leaving it to absorb sun rays. The soil temperature rises over some time, killing weed seeds, problematic pathogens, and pests.
Sterilizing with solar takes place in different ways but produces the same results. You can choose a suitable method according to your budget or preference. Here are the different methods;
1. Cover large-scale gardens or fields with plastic to trap the sun’s energy
2. Spread large quantities of soilless mixes between a bottom and top coating of plastic to trap the sun’s energy
3. Place smaller amounts of potting soil or mineral in plastic bags and set in the sun.
5. Choosing The Plastics To Use
The kind and thickness of the plastic you use for soil sterilization greatly impact the outcome.
1. Clear, transparent plastic is preferable to black one. Transparent plastic traps solar energy while a black one deflects it.
2. Thinner plastic allows better heating, but it is more susceptible to tearing by animals or wind.
3. Medium-thickness plastic works best in windy conditions.
4. You can use thick plastic in small areas.
6. How To Sterilize Soil With Sun’s Heat
Similar essential steps should be followed when using solar energy for soil sterilization regardless of the method or the type of plastic used. Follow these steps;
Step 1
Prepare your potting or mineral soil by removing litter from previous plants or breaking up clods. Doing this increases the efficiency of the treatment.
Step 2
You need to lay down the bottom coat of plastic for potting soil and spread the mix uniformly over the top. Stay about 6 inches from the edges of the container.
Step 3
Irrigate the soil until it is slightly moist. For garden soils, wet up to 12-inches deep
Step 4
Coat potting mixes and garden soils that were previously spread out using a layer of plastic. Pull the plastic tightly to cover the soil surface and secure it with layers of soil or rocks along the edges. Fill them with soil and seal tightly, then set them in a sunny place in the yard.
Step 5
Leave the soil for four to six weeks during the hottest part of the year for sufficient sterilization. If the location is cool, cloudy, or windy, allow the soil to sit for eight to ten weeks. Beneficial soil organisms are believed to survive solar sterilization or to re-colonize the soil fast.
5. Using Chemical Treatments
Chemical treatments are utilized on a large scale by commercial operations due to their high costs and hazards. Chemical sterilization is easy and fast to use even on large volumes of mineral or potting soil.
However, this method has some drawbacks that make it less popular with homeowners such as;
1. Chemicals pose a health and safety risk to the user and those who are close.
2. Modern chemicals are only effective in a small range, and a single one will eliminate only a few pests or diseases.
3. You cannot use the soil immediately after sterilizing to allow the chemical to be flushed out completely.
4. If not properly applied, the chemical may be absorbed into the soil and eventually into the plants through the roots, which can be harmful.
5. Continued use of chemicals can lead to resistance to pests and diseases to a particular treatment. The chemical will eventually become ineffective over time.
Does Soil Sterilization Remove Nutrients?
Sterilizing the soil with solar energy does not kill essential microbes. It can also speed up the process of generating nutrients vital for plant growth. Proper sterilization is the key to growing healthier plants.
Pros and Cons of Sterilizing Soil
| Pros of Sterilizing Soil | Cons of Sterilizing Soil | |
| 1 | Eliminates Pests & Diseases: Sterilizing soil destroys the presence of harmful pathogens, insects, and disease infestations. This significantly reduces the risk of plant disease or pest infestations. | Loss of Beneficial Microorganisms: The heat from sterilization doesn’t discriminate between beneficial and harmful microorganisms. The process can remove useful bacteria and fungi that help enrich the soil and boost plants’ growth. |
| 2 | Weed Control: Sterilized soil is generally free from weeds, thus, enhancing plants’ health by minimizing competition for nutrients and water. | Nutrient Depletion: Soil sterilization may lead to the depletion of nutrients needed by plants for optimal growth, hence, the need to replenish using fertilizers. |
| 3 | Increased Plant Yield: Sterilized soil can significantly increase plant production as it relieves plants from being attacked by soil-borne diseases and pests. | Impacts Soil Structure: High heat during soil sterilization can destroy soil structure, which may impact water and airflow, affecting plant growth negatively. |
| 4 | Better Seed Germination: By removing any possible threats in the soil, seed germination is likely to be higher in sterilized soil. | Risk of Recontamination: Once sterilized, the soil becomes more susceptible to recontamination from airborne spores or pathogens introduced by unsterilized tools or transplants. |
| 5 | Suitable for Indoor Horticulture: It is preferred in indoor gardening scenarios where there are concerns about the introduction of pests and pathogens from outdoor soil. | Cost and Effort: The process of sterilizing soil can be time-consuming, labor-intensive, and may require additional resources for heating equipment. |
Should I Sterilize Potting Soil?
Sterilizing potting soil is crucial when planting seeds, cuttings, or seedlings. Soil naturally contains fungi, harmful bacteria, and pathogens that can damage or kill susceptible plants. Sterilization of potting soil is easy and beneficial to the plant’s health.
Your soil could also be having insects and larvae that are harmful to plants. Store-bought soil may also be contaminated via old shelf-life, bag punctures, or other reasons. You can easily and quickly sterilize your potting soil at home as follows;
Materials Needed
1. Large baking sheet/roasting pan
2. Aluminum foil
3. Oven
4. Fertile soil
5. Meat thermometer
6. Water
7. Mixing spoon
How To Sterilize Potting Soil
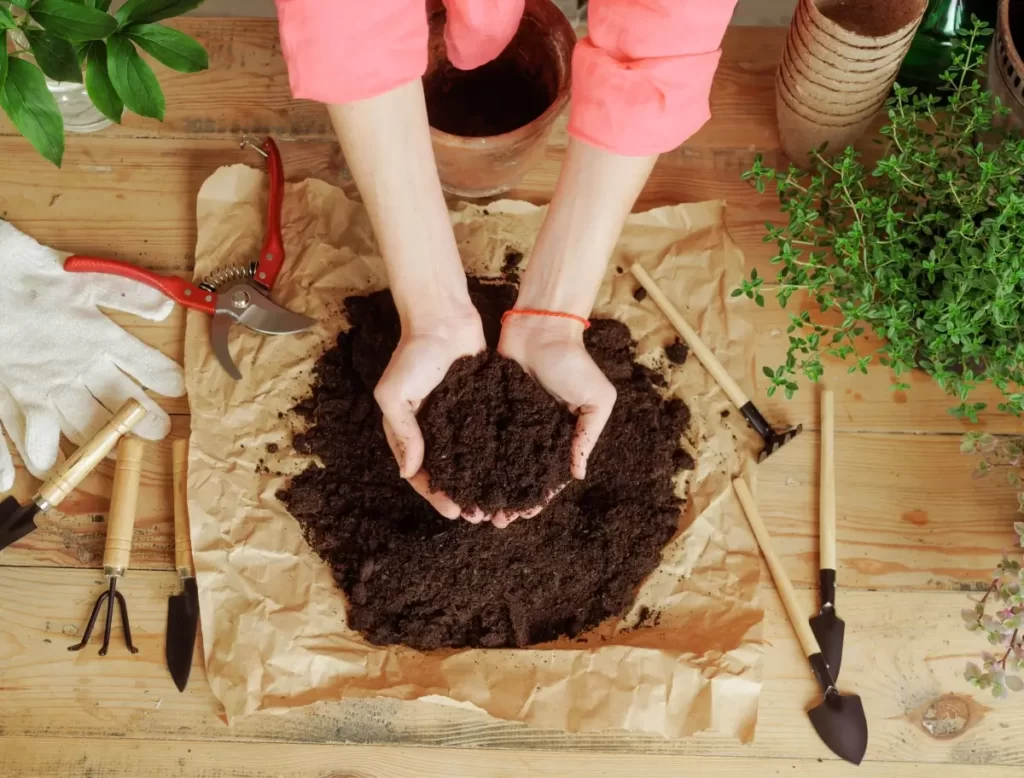
1. Soil Consistency
Your soil needs to be moist to compact into a ball, but it should crumble when pressure is withdrawn. You can pack a ball of soil between the hands to achieve this. Add a little water until you get consistency.
2. Place Soil On A Pan
Place your soil on a baking sheet or roasting pan and distribute evenly to break up any clumps. Do not fill the pan to the edge and keep the soil up to 4 inches deep. Cover the sheet or pan tightly using aluminum foil to prevent moisture loss or burning of the soil. Poke a hole in the middle of the foil enough to fit a thermometer.
3. Sterilize The Soil
Place the tray into the oven and set it to a low temperature of about 180oF to avoid changing the soil’s chemical composition. Allow the soil to remain in the oven for 30 minutes while monitoring the thermometer and adjusting the temperature as needed. Pay close attention to temperature changes.
4. Cooling And Using Soil
Remove the soil from your oven after 30 minutes and allow to stand until it reaches room temperature. Lift the foil cautiously to let heat escape, and be careful not to burn your skin. You can remove the soil from the pan and use it to sow your seeds.
Plant your seeds up to 4 times their diameter deep and water the soil with a mister to avoid flooding. Cover the seeds planted in a container with plastic wrap and place it in a cool room. Keep them away from direct sunlight until germination.
Once germination starts, gradually introduce light and remove the plastic wrap.
Final Word
Soil sterilization is essential for your plant’s health as it kills harmful bacteria and pests that could damage your crops. Ensure that you follow the right procedure and use the correct methods for optimum results.
References:
https://www.gardeningknowhow.com/garden-how-to/soil-fertilizers/sterilizing-soil.htm
https://theyardandgarden.com/how-to-sterilize-soil/
Emma is a graduate of Domestic Science or Family and Consumer Sciences (Home Economics) from the University of Wisconsin. She has 7 years of experience Working with the strategic section of BestBuy and now writing full-time for Homeeon.
From Managing the Home, Interiors, Cleaning, and Exteriors to Gardening and everything about Making A Home Liveable – is her passion and this Homeeon is the result of this.
Emma loves decorating her home with the best stuff found online. She cares about quality over anything and writes reviews about them here in Homeeon. Get in touch with her over Pinterest.
Keep reading her blogs.