Last Updated on July 24, 2023 By Emma W. Thomas
To remove grout sealers from tiles, apply a commercial grout sealer remover, scrub with a brush, wipe off excess, and rinse with water. Repeat if needed. Allow tiles to dry before resealing or using them. Wear protective gear and ensure proper ventilation during the process.
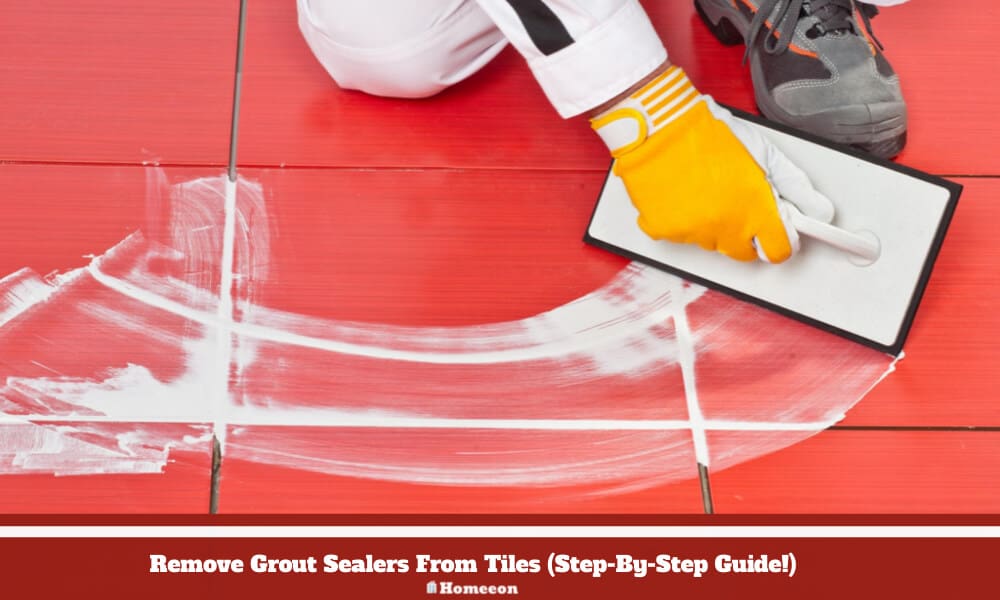
Steps-By-Step Guide To Remove Grout Sealers From Tiles
There’s a possibility of sealers falling on your tile surface when sealing the grout. The best and easy way to remove it is by wiping it out with a clean rag. For more outstanding results, clean up the sealers with a sponge soaked in warm water. Then gently scrub the surface with a vinegar solution, i.e., white vinegar and water mixed in equal measures. This frees the tile surface from grout sealers.
However, sometimes the sealers stay on the tile surface for an extended period due to one reason or the other, and it dries up! You can’t clean up the dried sealers with water, therefore, the need for more effective substances. Usually, chemical-based sealant strippers are popularly used to get rid of dried sealers from your tiles. They are readily available in home supply stores near your place.
For better understanding, let’s take you through step-by-step instructions on how to remove sealers residue from your tiles, as follows;
Step 1
Use a clean rag to wipe out the grout sealers on your tile surface. It is best employed instantly when the sealers spill on your tiles and before it has a chance to dry up.
Also, you can take a small bucket of warm water, a hard-bristle brush, and a mild abrasive cleaner. Pour a little cleaner on the water, then dip in your brush. Then, take it out and brush all those tile surface areas covered with grout sealers. You can clean up some of the loosely bound sealers from your tile surface.
Step 2
Conduct a patch test with your grout sealer remover on a small spot tile that’s hidden before applying it to the rest of your tiles. Put some sealant stripper in a plastic bowl and dip a sponge into it. Now use it on a specific spot and let it stay up to an hour, then wipe it off. If there is no harm to your tile color, you can apply it to the rest of your tiles.
Step 3
There’s no need to dilute the sealant stripper with any solvents; you can apply it directly on your tile surface. Apply the sealant remover on the affected area and rub it with the help of the sponge to form a thick layer. Leave it undisturbed for a while to soften up the bonding between your underlying tiles and the grout sealers. Then, scrub the surface area using a hard bristled brush to remove all the grout sealers residue.
Step 4
Using a soft and clean piece of cloth, remove the loosened debris from your tiles. Afterward, take another part of a clean cloth, but make it damp with plain water and clean up the remnant left behind on your tiles. Lastly, dry up the cleaned tiles using a clean cotton towel.
Note: Use the sealant stripper only after correctly setting up the sealer on the grout services. Be extra keen when applying the stripper so it doesn’t get into the grout surface and strip off your sealer from that area. Other people use a sharp object to remove grout sealers from tile like a razor, but it might leave some scratches on your tile surface. To avoid such predicaments, use the instructions mentioned above to remove the grout sealers altogether.
What is a Grout Sealer, And Why Do You Need to Remove It?
A grout sealer is a type of protective solution applied to the grout lines between tiles to create a barrier that prevents stains, dirt, water, and other substances from penetrating the porous grout material. Grout sealers come in different formulations, such as water-based or solvent-based, and they can be either penetrating (absorbed into the grout) or topical (forming a protective layer on the surface).
The primary purpose of a grout sealer is to enhance and prolong the life of the grout by reducing its susceptibility to stains and discoloration. Without proper sealing, grout can absorb liquids and dirt, leading to unsightly stains and potential damage over time.
Here are some key reasons why you might need to remove the existing grout sealer:
- Resealing: Over time, the effectiveness of a grout sealer may diminish due to wear and tear or regular cleaning. In such cases, it’s essential to remove the old sealer and apply a new one to maintain the protective properties.
- Refurbishment: When renovating or updating the tiles and grout, removing the old grout sealer is necessary to ensure proper adhesion of the new sealer and to achieve a consistent appearance.
- Incompatibility: If you are switching from one type of grout sealer to another (e.g., from penetrating to topical), removing the old sealer is crucial to ensure the compatibility and effectiveness of the new product.
- Grout Cleaning: Sometimes, during routine cleaning, residue from the cleaning agents or other substances can build up on the grout surface, making it necessary to remove the sealer and start fresh.
Types Of Grout Sealers
Before you decide to remove the grout sealer, it’s significant to know what type you have applied currently on your tiles.
There’re two types of grout sealers popularly used, i.e., penetrating sealers and surface sealers.
Penetrating Sealers
A penetrating sealer works differently from a surface sealer because it must penetrate the tile in not less than 15 to 20 minutes. This ensures that the sealer is entirely absorbed into the surface, deep into the pores and grout of the tiles. After the appropriate set time, you must wipe off any remaining sealer. Otherwise, it may cause a streaky haze that’s very difficult to get rid of.
Surface Sealers
A surface sealer, the material is as a coating over your tiles and grout, which forms a stain-resistant and non-porous layer. With this kind of sealer, your tile’s natural colors are enhanced, giving your tiles a subtle sheen. Any unglazed tile like porcelain must be sealed and sealer removed from porcelain tiles before adding grout to protect it from staining your tiles.
The primary purpose of both sealers is to protect the tiles, help them retain their luster and beauty, and prevent staining.
How To Know What Type Of Sealer Has Been Used
Of course, at first glance, it may be a bit tricky to know exactly what kind of tile sealer was applied to the tiles.
To differentiate between the two, use a lacquer thinner for an experimental area of your tile. Once you’ve applied and noticed no changes are occurring, it means you probably have a penetrating sealer. But, if it seems to erode the sealer, it’s a surface sealer.
Usually, penetrating sealers make your tiles look slightly darker since they are entirely absorbed into the tiles. Also, you can take one of the original tiles and compare it with the installed tile to see if there is a color difference. If the installed tile looks a bit darker instead of shining bright, it means it has been treated probably with a penetrating sealer.
Why Remove Your Tile Sealer?
There could be several reasons that might make you want to remove your tile sealers, depending on the type of tile. In most cases, the sealer applied was too thick, which may interfere with your tile’s beautiful look.
While in some instances, specific sealers are made to absorb the tiles instead of placing them directly over them, thus eliminating the thickness feature. Maybe there’re indeed several reasons why the sealers from your tiles are too thick, although in most cases, it’s due to incorrect application. The sealers require time to absorb; you should wipe any excess on the surface, so it doesn’t dry up or settle.
Sometimes you might have areas in your home with a lot of foot traffic; your sealers might wear out unevenly in some places. Usually pretty obvious because you’ll notice patches where the sealer is remaining while other areas are completely worn out. In such a case, it’s highly recommended to remove the tile sealers entirely and reapply afresh for an even finish.
Some sealers can become dusty or streaky, creating a dirty look that you cannot get rid of. While in other cases, grime and dirt have become deeply embedded into your surface sealer, making a constant dirt appearance. In the end, the solution will be to remove the grout sealers and apply them once more and achieve your tile’s beautiful appearance.
Simple Tips To Avoid Sealer Residue
- Don’t treat a penetrating sealer the way you would treat a surface sealer. By this, we mean don’t apply your penetrating sealer on your tile surface and leave it to try.
- Don’t wait more than 20 minutes to wipe off the excess sealer that didn’t soak into your stone and grout. Waiting for long will leave your sealers dries into a residue.
- After the 20 minutes pass, be thorough while wiping off the excess sealer. Use an absorbent cotton cloth or similar material and wipe all the sealer off.
- Do your knees a favor and use gardening kneeler pads or a cushion.
Does Your Vinegar Ruin The Grout?
If your grout is unsealed, the vinegar will penetrate the space for air in your grout, thus weakening them. For a while, vinegar will deteriorate the condition of your grout by wearing away.
However, for sealed grout, regular vinegar use will not be an issue. So, we highly encourage the sealing of your tile with a grout sealer to prevent any possible damage.
Final Thoughts!
You don’t need to tolerate any thickly uneven, incorrectly applied spillages or excess grout sealers on your incredible tiles. If it’s ruining your premium tiles’ look or you don’t like it, you have a chance of removing them entirely. Then you can DIY the way you want it or seek professional help for a perfect fit. With the tips and step-by-step instructions provided in our article, we believe you’ll pull this out very well.
References:
https://www.homeoftile.com/how-to-remove-grout-sealer-from-tile-what-professionals-say/
https://cleancurious.com/how-to-remove-grout-sealer-from-tile/
Emma is a graduate of Domestic Science or Family and Consumer Sciences (Home Economics) from the University of Wisconsin. She has 7 years of experience Working with the strategic section of BestBuy and now writing full-time for Homeeon.
From Managing the Home, Interiors, Cleaning, and Exteriors to Gardening and everything about Making A Home Liveable – is her passion and this Homeeon is the result of this.
Emma loves decorating her home with the best stuff found online. She cares about quality over anything and writes reviews about them here in Homeeon. Get in touch with her over Pinterest.
Keep reading her blogs.